Prepare the area that needs to be repaired by masking all the elements that will not be involved in the process.
Thorough cleaning is essential to guarantee the perfect adhesion of all the products that will be used during the renovation process of the plastic part.
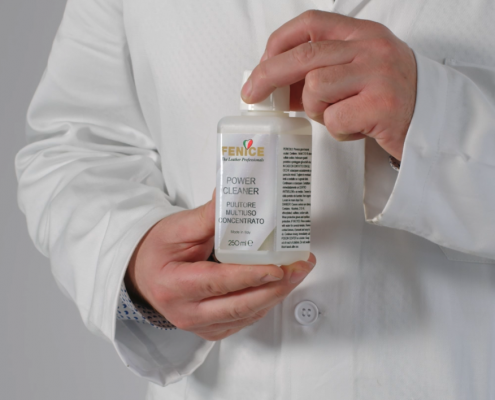
Clean with a Stain Eraser Sponge soaked in Power Cleaner after diluting the same in a 1:5 ratio in water. This process removes all superficial dirt that has sedimented on the surface of the plastic.
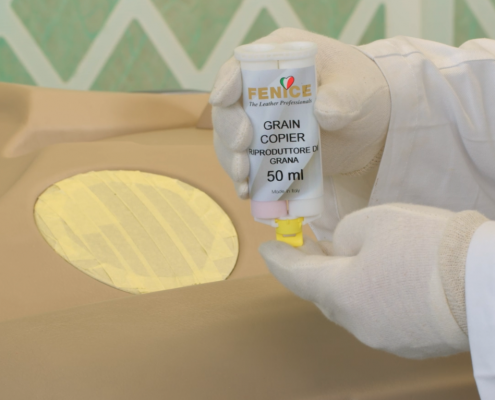
It is necessary to create a mold that perfectly reproduces the original plastic surface in order to replicate the texture of the original plastic on the repaired areas. Use Grain Copier to accomplish this goal.
Choose an area where the plastic is intact and has a well-defined texture.
Apply Grain Copier over the desired area using a handy applicator and a mixer. Subsequently, cover it with a Teflon Sheet and place a weight over it. The product will dry within a few minutes.
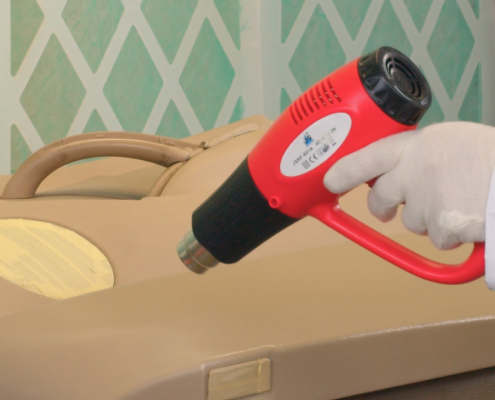
We recommend warming up the mold with a heat gun for about a minute before removing the mold from the plastic in order to complete the drying process.
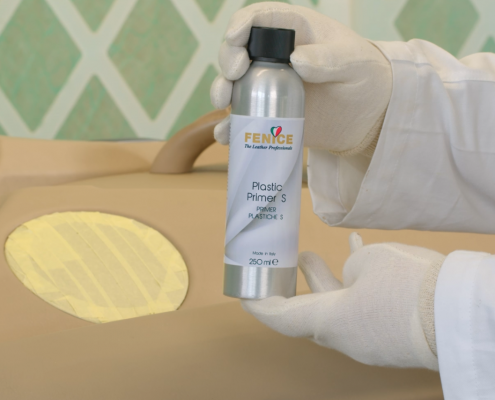
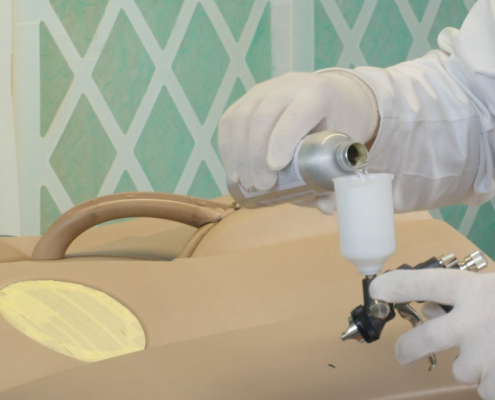
Spray a layer of Plastic Primer S to guarantee the perfect adhesion of the repair to the plastic part. Apply the product using a spray gun and create an even and uniform coat all over the surface.
Dry the surface thoroughly using a heat gun.
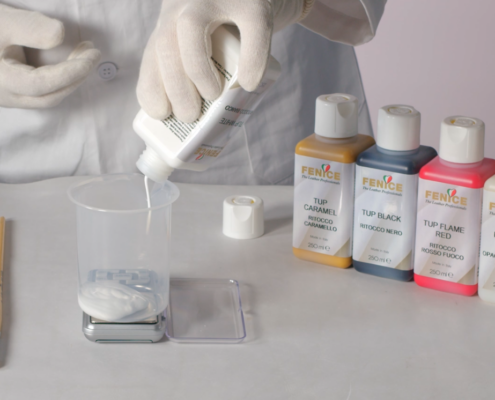
You can now proceed with the color matching. To do it properly, select a clean and intact area of the plastic part.
It is possible to scan the color and replicate it with industry-leading precision using the color finder Autocolor Pro and the new “Renew” Fenice app, which contains more than 2.000 color recipes.
Place the device over the selected area and scan the color. The dedicated app will show the closest match and the related recipe.
At this point, weigh the Touch-Up colors by following the recipe provided on the screen.
We recommend mixing the color with the Color Bonder in a ratio of 5% in weight. It is possible to achieve outstanding adhesion of the paint in this way.
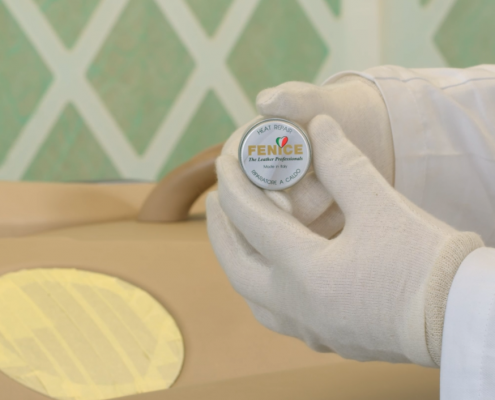
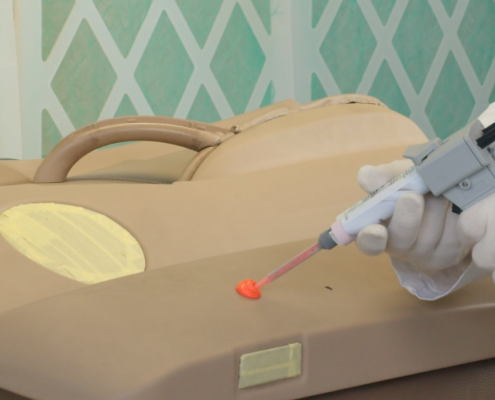
Proceed with the repair by using Heat Repair in case the plastic part has scratches and abrasions.
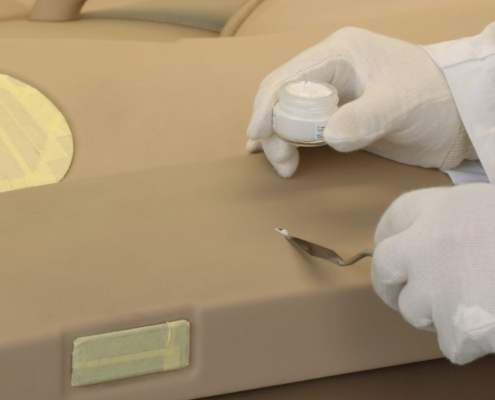
Fill the damage with the filler, avoid using too much product and level the surface thoroughly. Dry the filler with a heat gun until it looks white in color and the texture appears to be matte.
At this point, stop drying, heat the Grain Copier mold using a heat gun and proceed with texture printing.
Once it is very hot, place it over the Heat Repair and apply pressure for approximately 10 to 15 seconds. Use a cloth to protect any exposed skin from possible burns.
Gently remove the mold from the plastic once it is cold.

Now proceed with the coloring of the repair using the Touch-Ups in the desired color.
Mix the mixture thoroughly and apply it with a spray gun. Create a uniform layer all over the surface. We recommend applying two layers of color to completely cover any damage for the best results, taking care to dry well with the heat gun between one coat and the other.
At this stage, the renovation is almost complete. The last step involves protecting the job done so far by applying the topcoat. This treatment protects the plastic part and guarantees a long-lasting restoration.
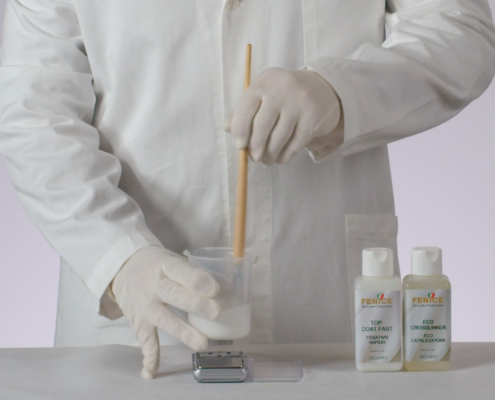
We recommend using Top Coat Fast – an advanced clear coat that has been studied to provide the appropriate and thorough finish to car interiors.
Please ensure that the topcoat is mixed with 8% in weight of Eco Crosslinker and must then be used within eight hours. Once the mixture is ready, spray it evenly onto the surface with a spray gun.
Apply two layers of Top Coat Fast and dry well with a heat gun in between the two coats for achieving the best results. It is important that the temperature reaches 80 ° C to ensure good crosslinking.
When the topcoat is completely dry the renovation is completed, and the plastic part will look like new.
