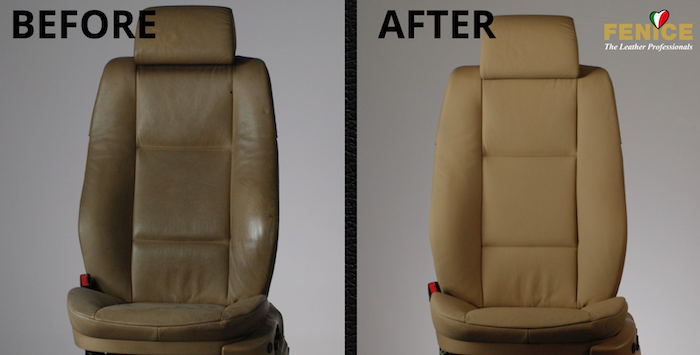
Prepare the seat by masking all the parts that will not be involved in the process.
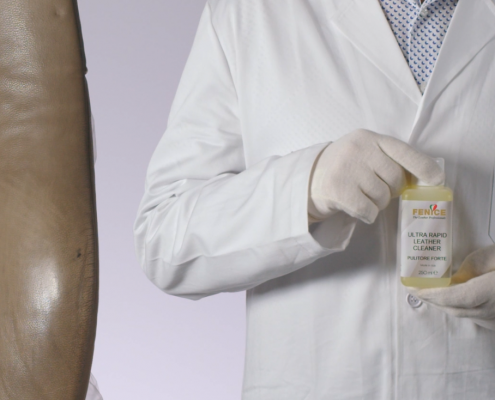
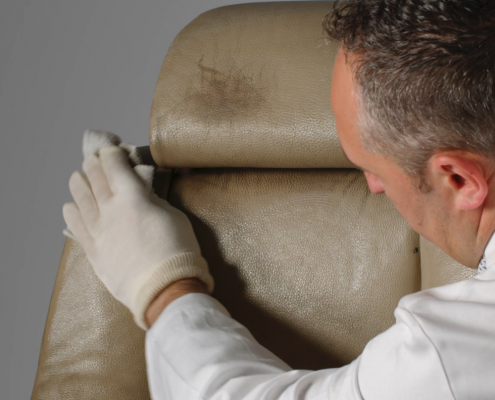
Thorough cleaning is essential to guarantee the perfect adhesion of all the products that will be used during the renovation process of the leather seat. Clean the leather seat with a Stain Eraser Sponge soaked in Ultra Rapid Leather Cleaner. This process removes all superficial dirt.
Remove residual dirt and excess product using a clean, dry cloth.
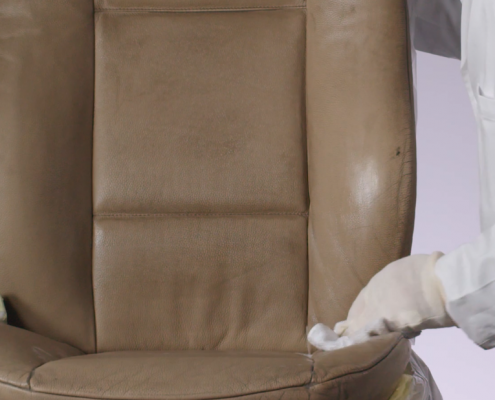
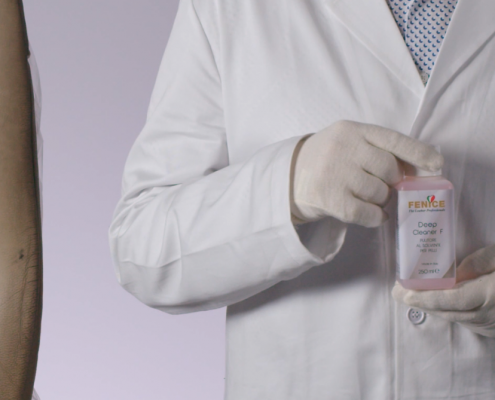
Solvent-based cleaning is a process that enables you to remove a part of the old finishing and prepares the leather seat to receive the new one. It also dissolves fats and other substances that are only soluble in a solvent.
Clean the seat with a Stain Eraser Sponge soaked in Deep Cleaner F using circular movements and applying light pressure.
After the cleaning is completed, rinse the seat carefully with a wet cloth and dry it with a heat gun.
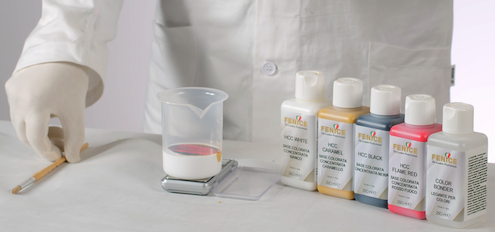
You can now proceed with the color matching. To do it properly, select a clean and intact area.
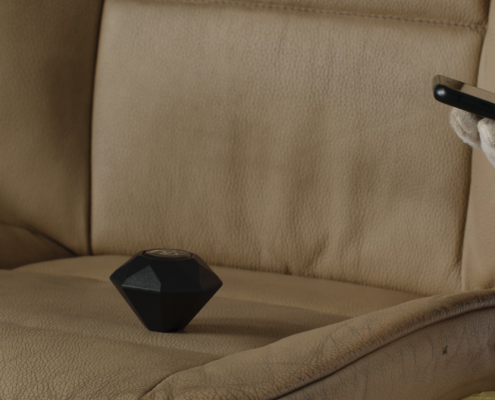
It is possible to scan the color and replicate it with industry-leading precision using the color finder Autocolor Pro and the new “Renew” Fenice app, which contains more than 2.000 color recipes.
Place the device over the selected area and scan the color. The dedicated app will show the closest match and the related recipe.
At this point, weigh the High Coverage Colours (HCCs) by following the recipe provided on the screen. We recommend adding 5% in weight of Color Bonder to the High Coverage Colours (HCCs). It is possible to improve the adhesion of the paint in this way.
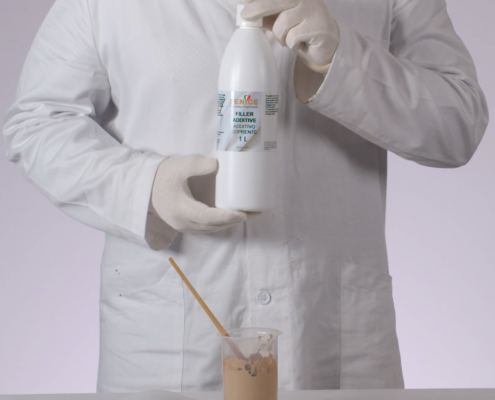
If there are small cracks on the surface to be restored, it is recommended to add Filler Additive to the color in a maximum ratio of 50% (1:1), in case there are small cracks on the surface that need to be repaired.
If the leather seat has scratches or other superficial imperfections, then use the Mender Fast filler.
Place the necessary quantity of filler in a cup and add a few drops of pre-matched High Coverage Colours (HCCs). It is easier to cover the imperfections in this way. Mix the filler and the HCC thoroughly.
Subsequently, apply the mixture over the surface that needs to be repaired. It is essential to create a surface as uniform as possible.
Dry the Mender Fast for a few minutes using a heat gun at a temperature of approximately 80°C. When the filler is completely dry, sand the whole surface of the seat, making sure that you do not miss any spot, with P400 first and P800 grit sandpaper second.
Remove the residue after the sanding is completed using a wet cloth and dry it thoroughly.
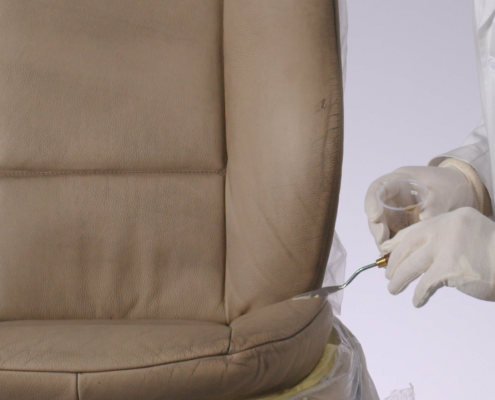

It is necessary to apply a coat of Extra Adhesion to guarantee the perfect adhesion of the paint job to the leather seat.
Use a spray gun, apply an even coat of product on the whole leather seat surface, and then dry it with a heat gun until the sticky feeling disappears.

Use Stitching Protector if the part that needs to be either repaired or renovated shows contrasting colored stitching.
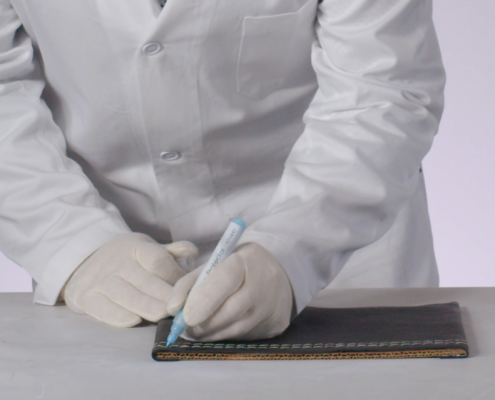
It is a water-based product that is ideal for protecting contrasting colored stitching threads during seat renovation. Owing to its 1-2 mm fine tip, the handy marker applicator can trace precise and sharp lines.
Shake the marker well before use. Apply the product over the stitching that needs to be protected, removing the excess from the surrounding areas.
You can either wait for the product to dry on its own accord or dry it with a heat gun for a few seconds.
Remove the Stitching Protector by gently rubbing the surface of the leather seat once the repainting is complete. Rinse the tip of the marker with water after you have completed using it to preserve its functionality.
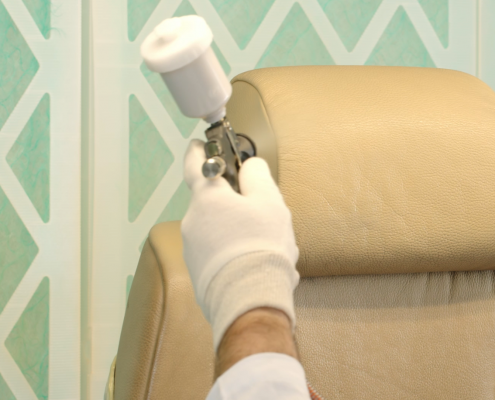
Mix the color thoroughly, filter, and apply it evenly on the whole surface using a spray gun.
Apply two layers of color to completely cover any damage for the best results, taking care to dry well with the heat gun between one coat and the other.
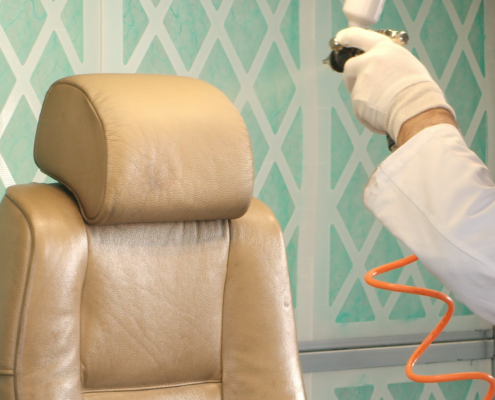
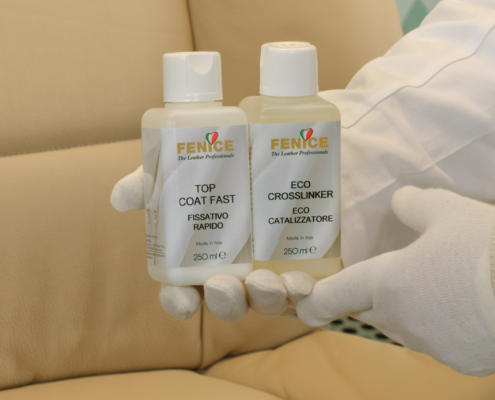
At this stage, the renovation is almost complete. The last step involves protecting the job done so far by applying the topcoat. This treatment protects the seat and guarantees a long-lasting restoration.
We recommend using Top Coat Fast – an advanced clear coat that has been studied to provide the appropriate and thorough finish to car interiors.
Please ensure that the topcoat is mixed with 8% in weight of Eco Crosslinker and must then be used within eight hours.
Once the mixture is ready, spray it evenly onto the surface with a spray gun. Apply two layers of Top Coat Fast and dry well with a heat gun in between the two coats for achieving the best results. It is important that the temperature reaches 80 ° C to ensure good crosslinking.
When the topcoat is completely dry the renovation is completed, and the leather seat will look like new.