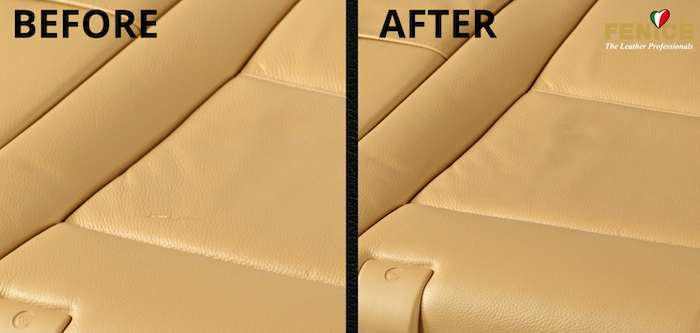
Thorough cleaning is essential to guarantee the perfect adhesion of all the products that will be applied later.
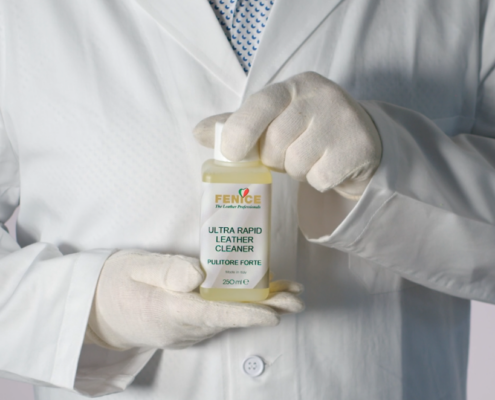
Use a Stain Eraser Sponge soaked in Ultra Rapid Leather Cleaner to clean the area that needs to be repaired by using circular movements and applying light pressure.
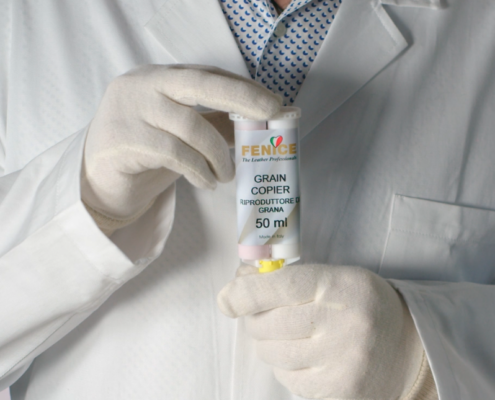
It is necessary to create a mold that perfectly reproduces the original leather’s texture on the repaired areas. Use Grain Copier to accomplish this goal.
Choose an area where the leather is intact and has a well-defined texture. Protect the area with Car Leather Protector before applying the product.
Apply Grain Copier over the desired area using the handy applicator and the mixer, then cover it with the Teflon Sheet and put a weight over it. The product will dry within a few minutes.
Before removing the mold from the leather, it is suggested to warm it up for about a minute by using a heat gun to complete the drying process.
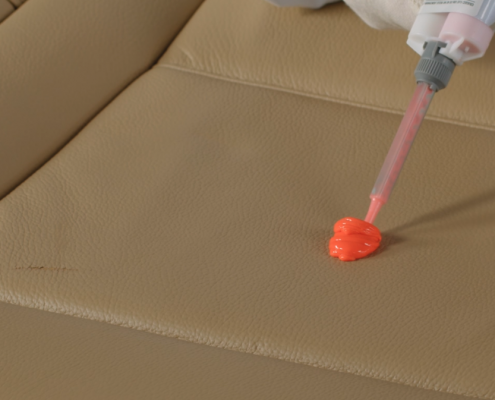
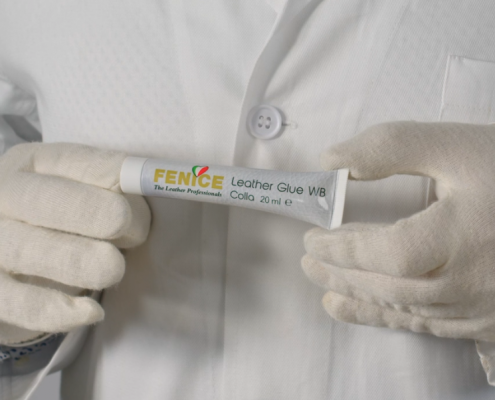
Proceed with repairing the abrasion by applying a light layer of Leather Glue WB. This operation will allow you to glue down the parts that are sticking out.
Create a flat surface with a spatula and remove the excess glue by gently rubbing it with your forefinger. Fill the abrasion with Surface Repair to restore the missing leather part while ensuring that you do not leave excesses and level the surface thoroughly. If necessary, apply a second layer of filler until the damage is completely filled.
Dry Surface Repair for a few seconds with the heat gun. Heat the Grain Copier mold using a heat gun and proceed with the texture printing.
Place the hot mould directly on the filler and apply pressure for approximately 10 to 15 seconds. Use a cloth to avoid burns. Once it is cold, gently remove the mold from the leather.


You can now proceed with the color matching. To do it properly, select a clean and intact area.
It is possible to scan the color and replicate it with industry-leading precision using the color finder Autocolor Pro and the new “Renew” Fenice app, which contains more than 2.000 color recipes.
Place the device over the selected area and scan the color. The dedicated app will show the closest match and the related recipe.
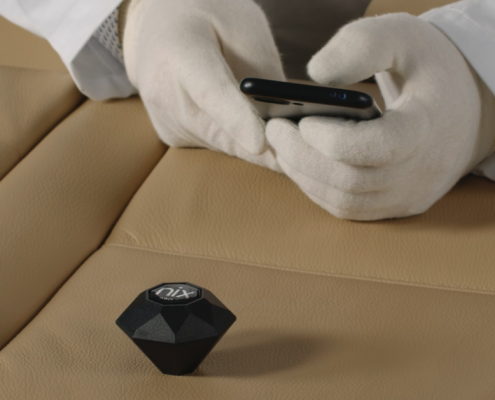
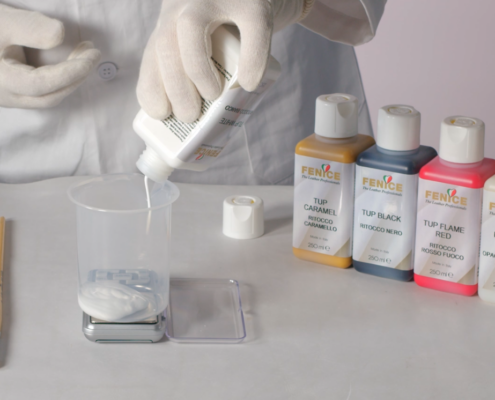
At this point, weigh the color by following the recipe provided on the screen. Use Touch-Up colors for this repair. To obtain the desired degree of opacity, add a maximum of 40% of Dulling Agent.
Now proceed with the coloring of the repair using the Leather Touch-Ups in the desired color. Apply Leather Touch-Up by dabbing the repaired area with a sponge and subsequently drying the paint with a heat gun.
Repeat this process until the surface appears to be uniform and the repair is not visible anymore.
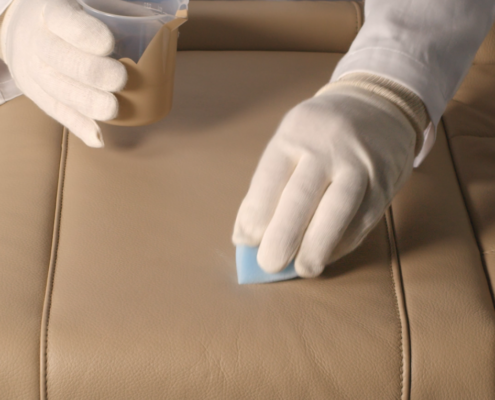
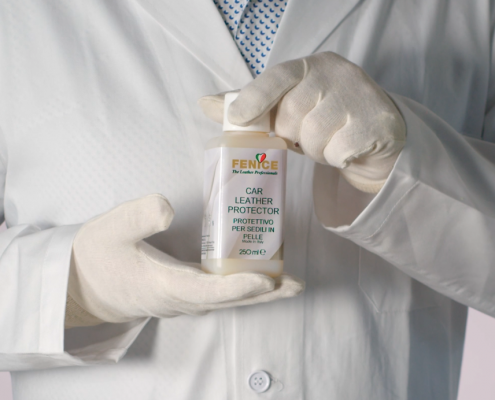
Once the repair is complete, we suggest protecting it by using the Car Leather Protector.
This product allows you to maintain the softness of the leather and protect it from the dirt that gets accumulated every day.